With all the work of moving into the new store we have been in and out the shop door many times and I have more than once caught my hand, banged my elbow and once even head butted myself in an effort to keep the door open as I entered with a load of goodies.
I then got smart and started using a stack of bricks.. this was effective but moving the stack was sort of a pain and the rough texture of the bricks actually started to wear on my hands from all the times I was moving them around.
This small but annoying problem brought to mind the feltwrapped brick of my childhood that my dad used to hold the kitchen door open when we would bring in the groceries. Effective for sure but not exactly attractive to say the least. So it was the right idea is just needed some fleshing out.
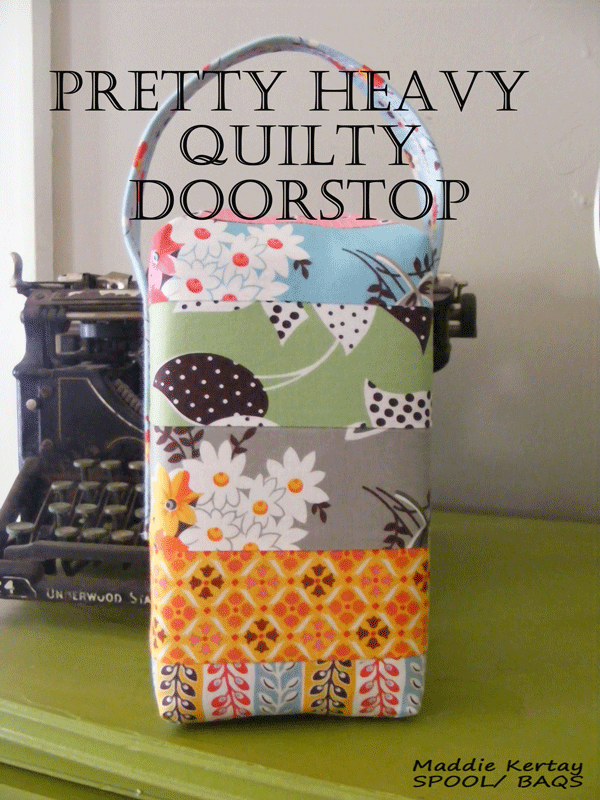
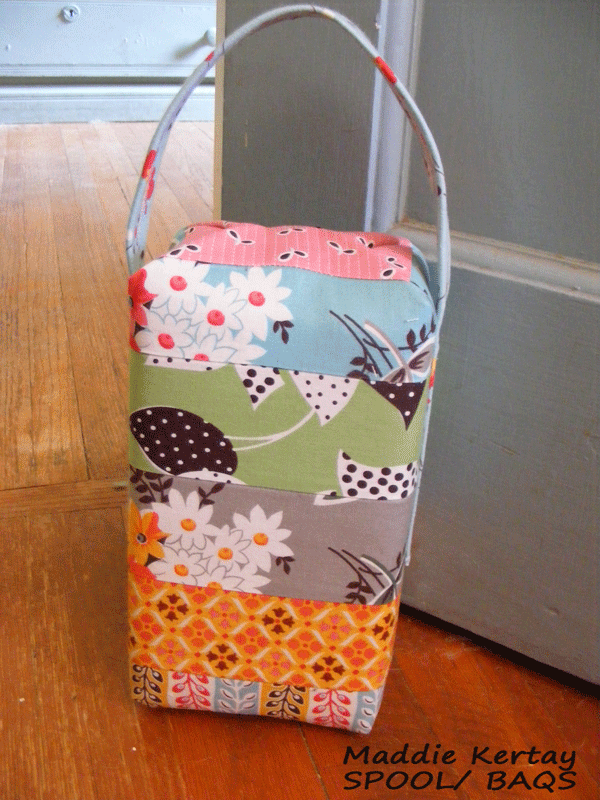
The other challenge was that the door on our old building is large and heavy actually needing two bricks to hold it open.. so with all of this in mind I created the ~ Pretty Heavy DoorStop~
Supplies are simple
- Duct tape
- Scrap batting
- Canvas or even the old leg off some jeans will do! ( I used a piece of old painter drop cloth)
- Strips of your favorite fabrics. – this is also a great time to use up those odd and ends from jelly rolls that you never quite used up.
- Curved upholstery needle and heavy duty thread.
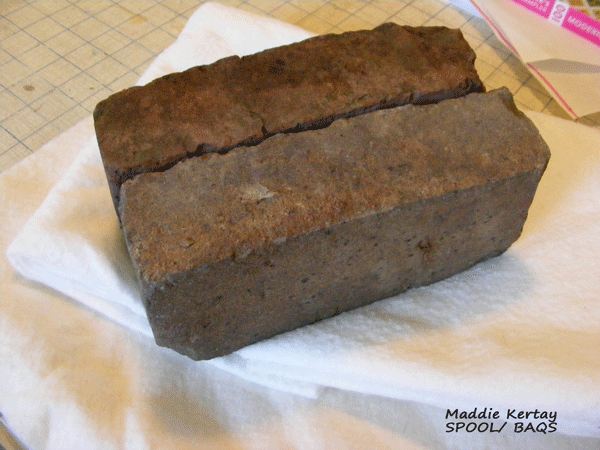
Start with two average bricks and some scrap batting and tape.
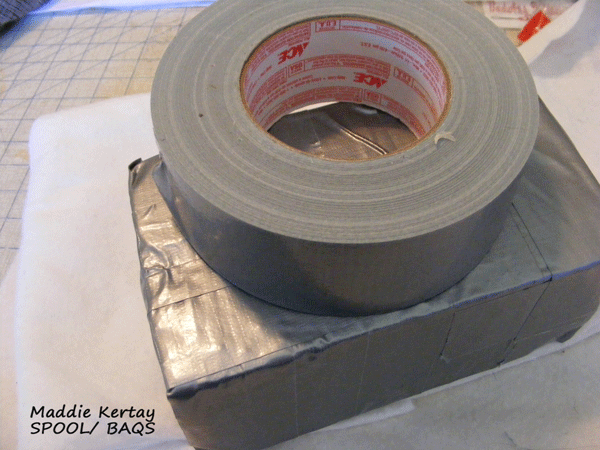
Cover the brick or bricks in tape- in my case I tapped the two brick together.
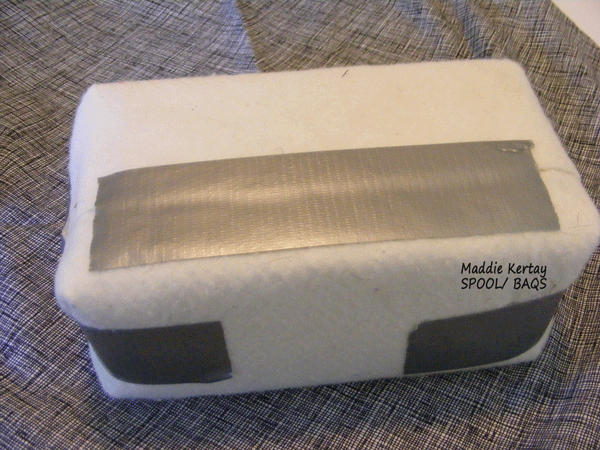
Next wrap them neat and tidy in two layers of batting and tape securely.
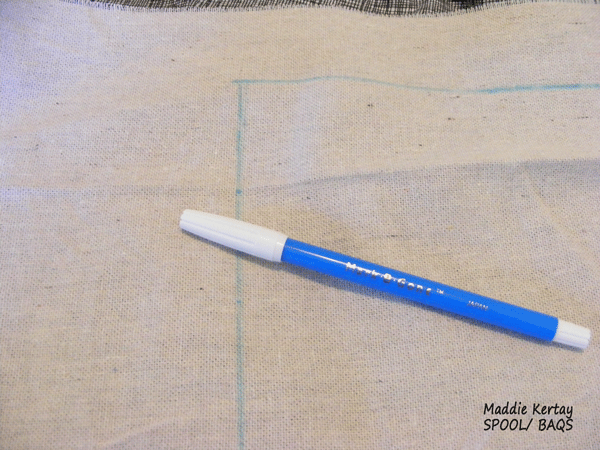
Next on some scrap canvas or other heavy weight fabric trace out the amount of fabric you will need to wrap the brick ” package style” then add a bit extra for tucking and adjusting – so just like for wrapping paper.
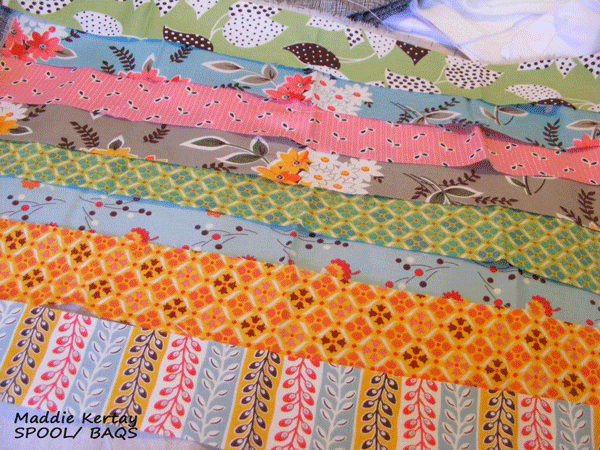
Next up select your strips. I cut mine 2.5 wide which also means that I could have used Jelly Roll or other such pre- cuts. But really any size will do as long as it is wide enough to go across the area you have marked.
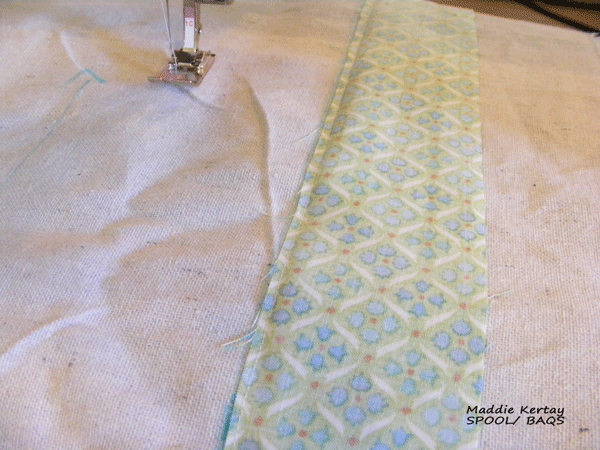
Now it is all about just sewing the strips to the canvas. Lay the first one down and sew, then flip it over and finger press.
Lay on the next strip and sew again.. moving your way across the base fabric filling up all the area with your strips. When full give it all a good pressing.
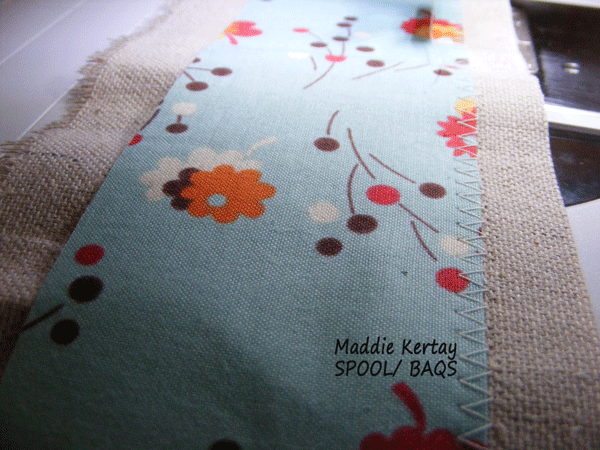
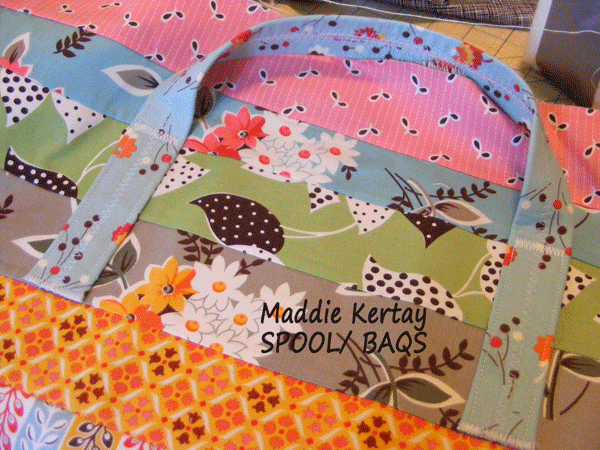
Next you will make a handle ( no you don’t need to but it makes it SOOO much easier to pick up and move around.) Take another 2.5 fabric strip about 22 inches long and a piece of canvas the same length and 4 inches wide. Apply the fabric strip down the center of the canvas with a zigzag on both side of the strip.
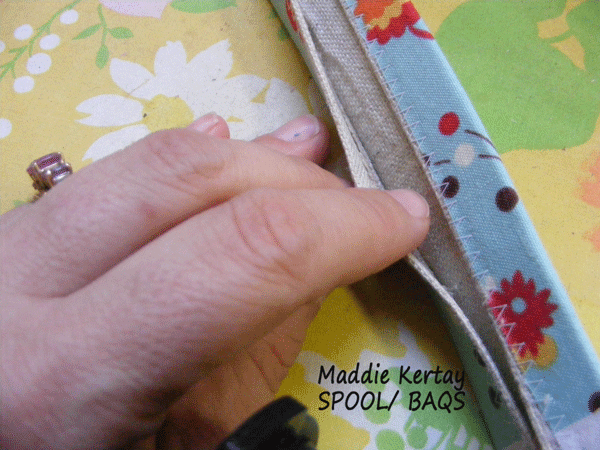
With wrong sides facing up fold the canvas to the center and then the sides to the center. Then stitch up the center to secure. To finish the ends I overcasted the edge with a simple zigzag to avoid bulk.
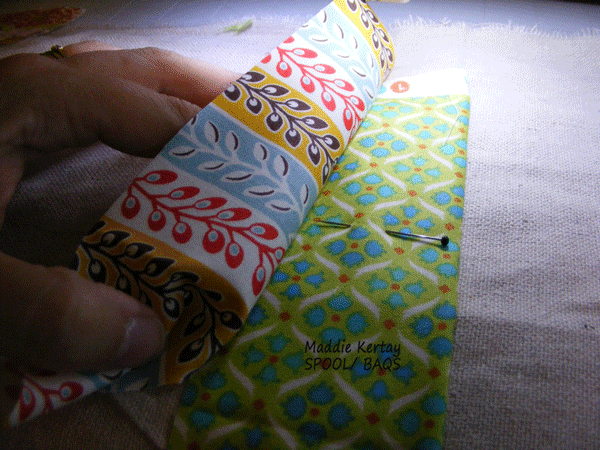
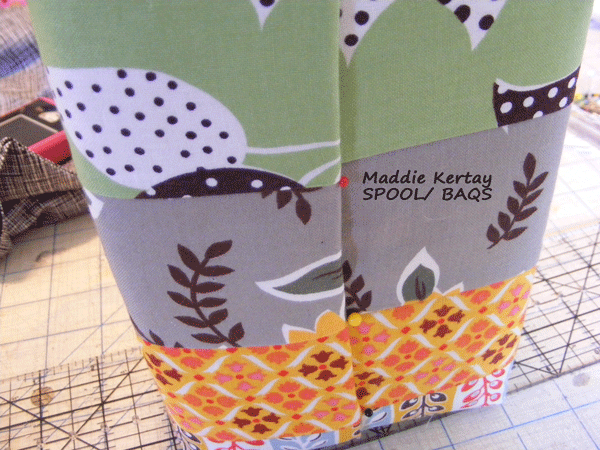
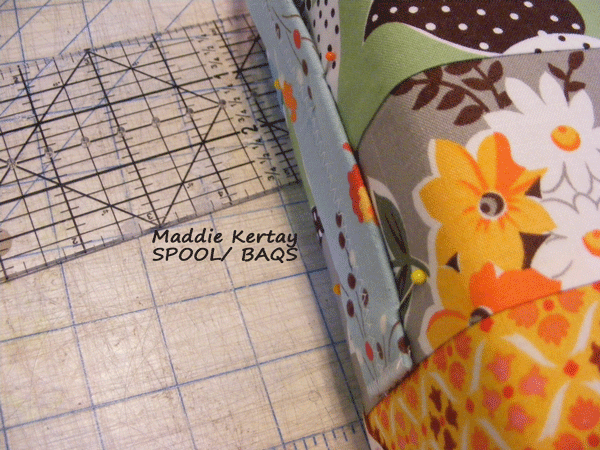
Wrap the fabric panel around the brick and hold with a few pins in order to fit the handle.
Pin in the handle leaving a nice amount of play at the top to pick up the stop with ease. With handles pinned n place remove cover from brick.
Sew handles down securely!
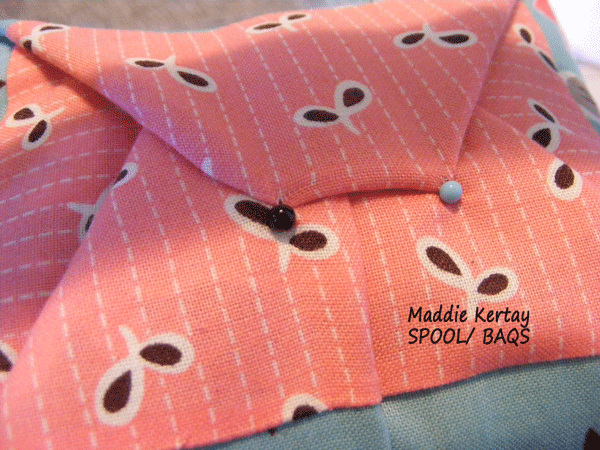
Rewrap your brick and tuck and pin everything closed in anticipation of hand sewing the cover on the brick. Use a curved upholstery needle to make quick work of this job. Make sure to use really heavy duty thread!!
For added wear I am going to add a felt bottom to mine and I am going to spray it with waterproofing spray to help keep it a bit cleaner. Such a small silly project but I can’t tell you how much fun I had and how much I love seeing it sitting there doing its job and even when its not it sure is look really cute!
I suspect there are many directions you could take this project and oddly I think it might make a pretty quirky and fun housewarming gift… what do you think???
p.s. Yes.. I see the dust.. I will get right on that!!
p.s.s if you like this and are a member of Pinterest please take a moment to pin it to help get this tutorial out there for others to enjoy!


