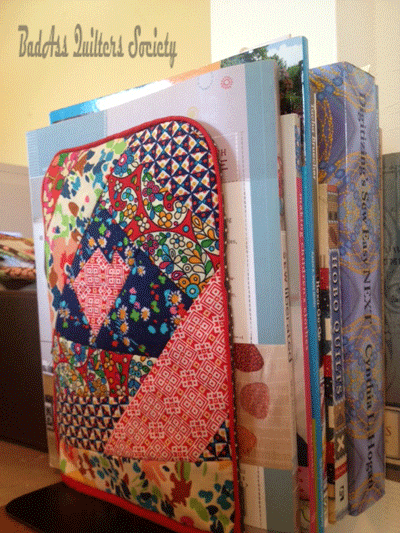
At heart I am a practical girl who likes order wrapped up in a bit of pretty and these Scrap Happy Bookends do just that.
I have more sewing books than is seemly for a girl my age (ahem!) and given that many of them are of the paper bound variety they tend to be a bit willy nilly if not given a bit of support on the book self and that is how this project was born. I share it with you not so much as a tutorial but as a guided idea since some parts are a bit short on detail.
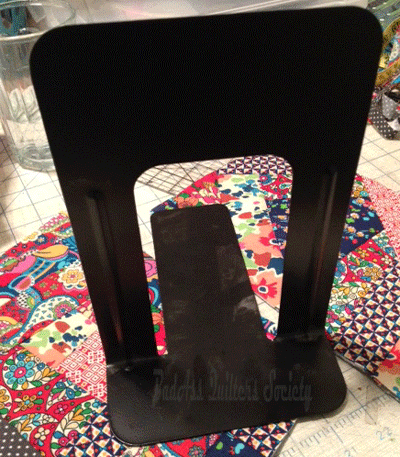
Sure I could have just left well enough alone and just used these sturdy but dull office issue book ends.. but WHY???? why I ask you, when they could be so much more???
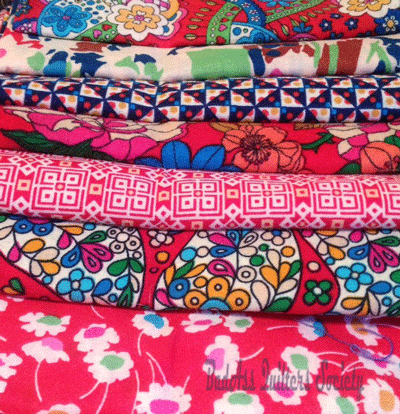
This project is perfect for cleaning out the scrap bin but in my case I took the opportunity to use just a wee bit of my new stash of Liberty of London quilting cotton from a wonderful little store in Austin called Remnants Fiber Culture.
This project was fast and easy using a stitch and flip quilt as you go method – Need a little technique review? .. ok.. I have that covered.. or I should say that that the fine ladies from DIY Dish do!
Up to speed?… awesome.. so here we go…
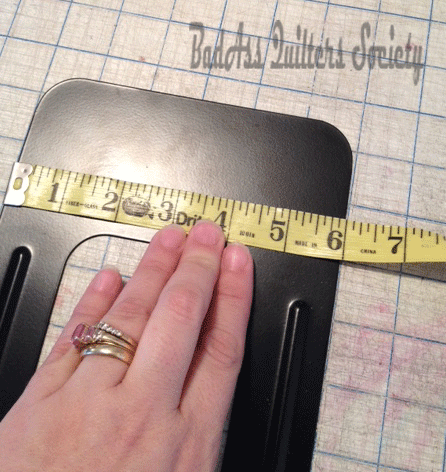
First get yourself a couple of those old fashioned metal bookends from the office supply store and then measure them up. Width and height is all you need.
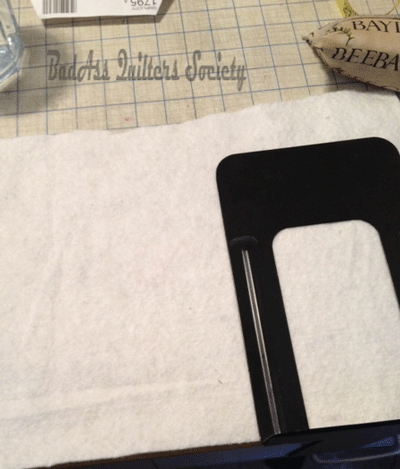 Next cut a piece of batting a bit bigger and bit taller than the dimension you need. ( This is what I cut to make 2 bookends) This is also a great project to use up all those freaky sized pieces of batting that I know you are keeping.
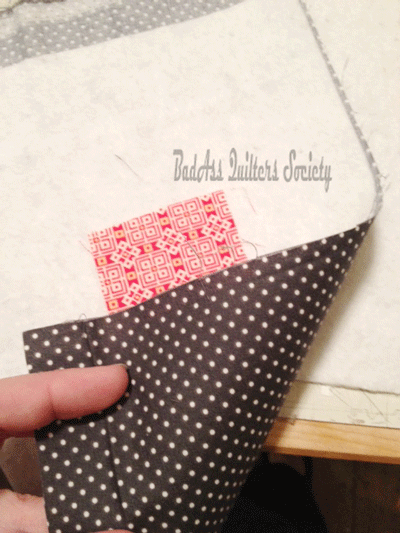 Under the batting lay a piece of backing fabric, right side out. I use a bit of temporary spray sewing adhesive but this is not a must.
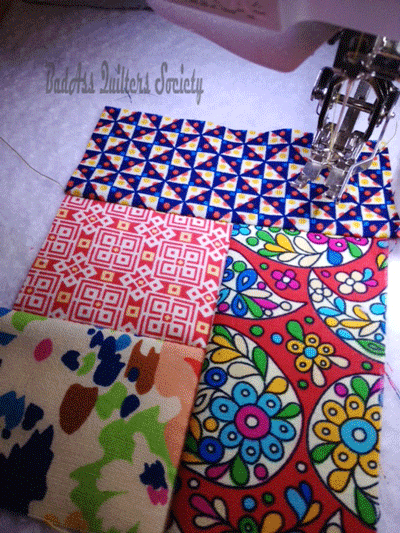
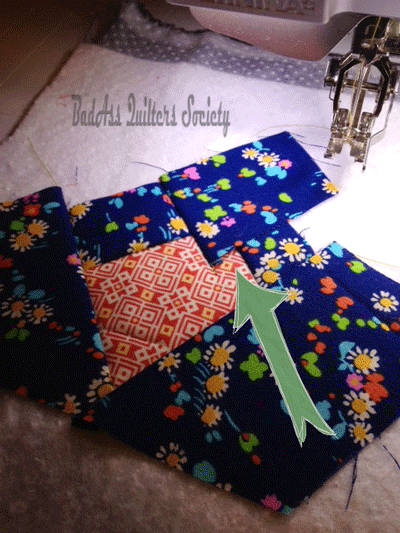 Next go about laying on your fabric scraps, sewing down and then flipping over and finger pressing. Do no make a silly mistake like I made (green arrow) but if you do think of it as looking like a heart and carry on! You can go all free form like this sample.
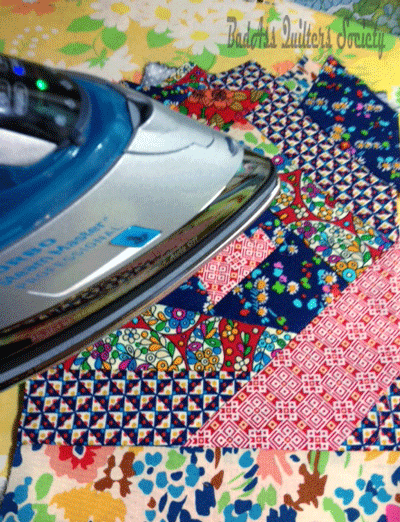
Or maybe a bit more uniform like this logcabinesque block I did for the second bookend. That part is up to you. Just keep building until you have covered all of the batting. Finger press as you go or –
Hit it with the iron- again up to you, I am flexible. When you have covered the batting give it all a last pressing and then square everything up.
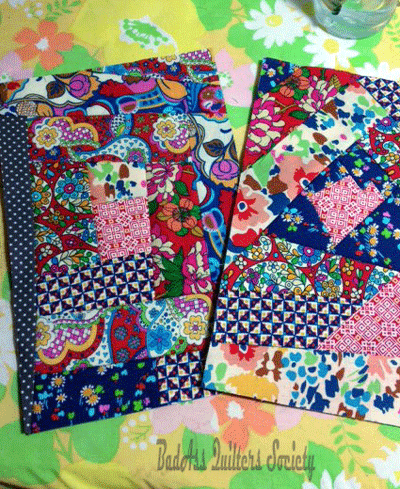 Ok, so far so good? You now have one or two quilted panels. You only need 1 per book end but I made 2 bookends so that is why you see both that I made.
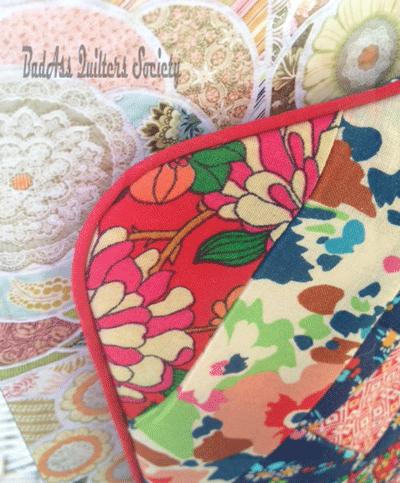
Assembling is easy ..or a bit harder depending on how you do it. I got all fancy like and decided that I just had to have piping, but then only had micro piping in the color I wanted. Micro piping was made by the devil and that is all I have to say about that.
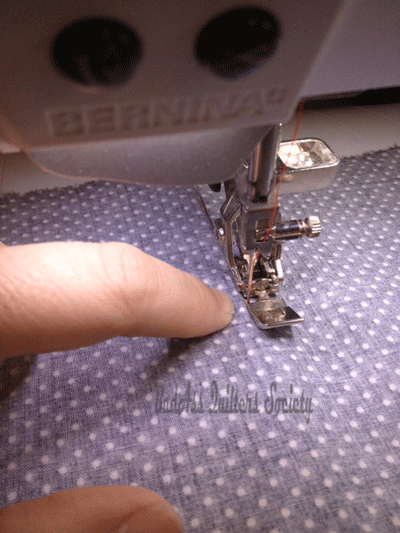
Moving on…. yes it looks great but next time.. maxi piping baby… really. From here it is simple, on the back side of the quilted panel trace the outline of your bookend and then cut it out with a 1/4 inch or a bit greater seam allowance. Attach piping if you are feeling brave or just move ahead to attaching the backing fabric by sewing it to the quilted panel following the outline you cut that matches the profile of your bookend.
When done stitching turn right side out, press and then turn up the bottom and hem to a length that best fits your bookend. ( I put piping at the bottom of mine.. a total waste of time- hey, just keeping it real!)
Once you make one the rest go very fast and are much easier ( that might also have to do with not using that dang micro-piping- really.. FROM THE DEVIL)
So, who do yo know who could use a cute little gift? or maybe it would be just the thing to kick off spring cleaning at your place. Either way, if you make some send me a photo I would love to show them off!


